Recently, I mentioned in passing that I took some photographs of specimens at the AMNH in New York so that I could better scale models I had calculated from photographs taken during my previous visit. Here’s how that worked out, with a step-by-step explanation.
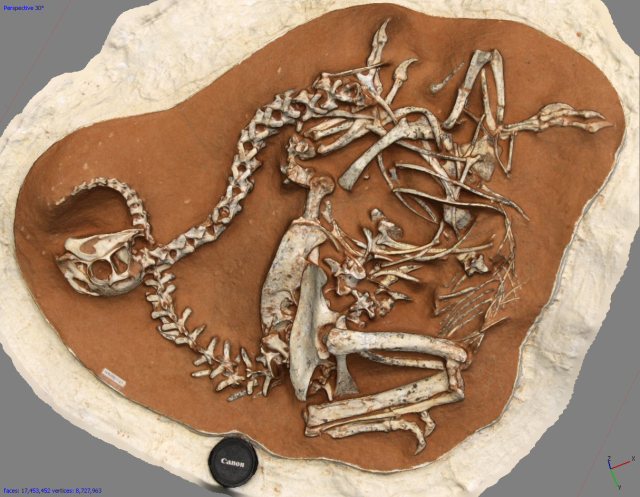
Here’s one of the models again, as calculated before, without a proper large scale bar.
If your name is Jaime H., click for a larger version 😉
This is a model of the Khaan mckennai holotype IGM 100/1127. It has only some 17.5 million polygons. Still, a nice model! Obviously, given the advances in the photogrammetry software that happened since I previously calculated the models, I could simply have re-run them from scratch, just with the new images added. In fact, I am doing that also, to compare the results. But with a calculation time of 183 hours for the alignment and 75 hours for dense point cloud generation – and that is for ONE of the models – it is a major task. If I can avoid it, that’s an option nice to have. I just recalculated on of my models, and that has 279 million points in the dense point cloud. So, “only” 17.5 million here, but a model that I certainly do not wish to re-calculate, as it is good enough for the vast majority of purposes.
So, how to proceed?
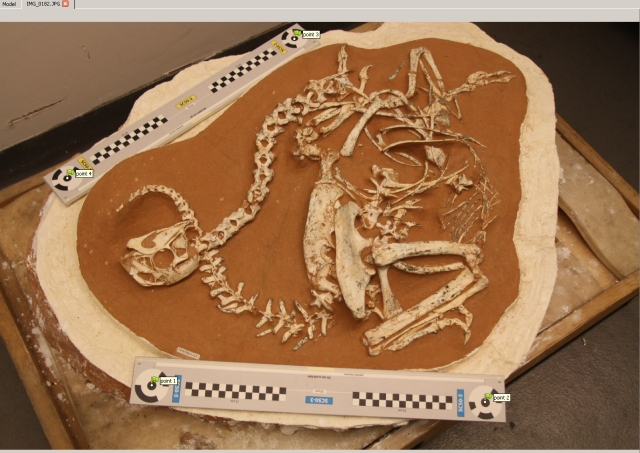
First of all, I created a new chunk in the project file, and added my new photographs with the big scale bars into it. I ran alignment, obviously at ‘High’ accuracy. Then, I added markers on my scale bars in the photographs:
Obviously, the surroundings have changed. And if you look closely you will note that the specimen itself has changed a bit, due to further preparation work. However, the by far largest part of the area photographed has stayed the same. Therefore, it is now possible to align the two chunks to each other via points. And then I merged the chunks, which retained the already-calculated model.
This is the chunk with the old photos, showing the alignment. And here’s the two chunks aligned and merged:
Note that I set the alignment photos to “inactive” so that they are shown in a different colour.
Now, I just updated the merged chunks using two scale bars created from the four markers – and done!
OK, that’s it! And now, to tease certain colleague a bit more, another view of the model. This time without colour, so that the high quality is more apparent:


That is such a beautiful specimen! Not only is it well preserved and (from what I see) pretty articulated, but also the pose is stunning as it conveys the gracefulness of the animal. You explained the process of digitally modeling a skeleton very well! Jaime would be proud! 😀
You just wait for the 276 image, 279 million points model 😉
The problem is: there is no computer at the MfN that can display the mesh once calculated. And to be honest, I do not even know if there is a computer that can calculate the mesh in the first place.
Huh. Well, as a little european fishlosopher once said “vast keep svimming”!
By the way, could I feature your computer model or original photograph of the specimen in PaleoNews #7? i would provide a link to your original post and any other websites you’d like.
Sure, go ahead 🙂
Thanks!! It has been featured here: thetetanuraeguy.wordpress.com/2015/03/05/paleonews-7/
Pingback: PaleoNews #7 | Thetetanuraeguy
Pingback: Photogrammetry: index to Heinrich Mallison’s tutorials | Sauropod Vertebra Picture of the Week